Mix the flour, yeast, sugar and salt in a large bowl.
Bowl
2
Add the lukewarm water and olive oil and Knead about 10 minutes, until the dough is smooth, pliable and doesn't stick to your hands.
BowlStand mixer
💡For yeast dough, use the windowpane test: a small piece stretches into a thin, translucent sheet without tearing, and that's the sign the kneading is done. Add flour only by the tablespoon, and only if the dough is still sticky after a few minutes: too much flour makes a tough dough.
3
Cover and Let rise about an hour in a warm place, until the dough doubles in size.
Plastic wraporKitchen towel
💡Let rise in a warm, draft-free spot. The dough is ready when it has doubled, and a gentle finger press leaves a dent that fills back slowly; if it springs right back, wait longer.
4
Preheat the oven to 250°C (480°F), with an upside-down baking sheet inside, for at least half an hour.
Oven
💡Put things in the oven only once it's reached temperature, after the heating light has gone off: an oven that hasn't reached temperature changes baking times, and the bake burns outside or stays underbaked.
5
Divide the dough into 10 balls and roll each ball into a circle about ½ cm thick.
Rolling pin
💡Don't roll too thin: in a round half a centimeter thick or more, the steam in the dough puffs it into a pocket; a round that's too thin dries into a cracker.
💡Dough that springs back needs rest: cover the balls for 10 minutes and the gluten relaxes.
6
Cover the rounds with a towel and let rest 15 minutes.
Kitchen towel
7
Bake on the hot baking sheet, 3–4 pitas at a time, 3–5 minutes, until the pitas puff into a pocket and take on a little color.
OvenBaking sheet
💡Full heat and a scorching-hot baking sheet are what make the pocket: in an oven that isn't hot enough, the pita bakes flat.
💡Check by the cue (until…), not just the clock: every oven bakes a little differently.
8
Wrap immediately in a towel, so the pitas stay soft.
Kitchen towel
For the Roasted Vegetables
9
Char the peppers whole directly over the gas flame, turning, until the skin is black and blistered on all sides and the flesh is completely soft.
Stove
💡Charring directly over the flame gives the vegetables their smoky flavor; in the oven they soften, but the flavor is milder.
10
Transfer to a bowl, cover tightly and leave 10 minutes.
Bowl
💡The steam in the covered container separates the skin from the flesh, so it comes off easily. Don't rinse under water: the smoky flavor washes away with it.
11
Peel off the charred skin, remove the stem and seeds from the peppers and drain off the liquid.
Colander
To assemble
12
Grind the walnuts in a food processor with the bread, to a coarse powder.
Food processor
💡When grinding to a cream, the nuts and bread are ground on their own first: a fine powder thickens the spread, and the oil added in a thin stream binds it into a smooth cream.
💡In a food processor, grind in short pulses and check between pulses: it's easy to go from coarse to paste. (Sesame for tahini, on the other hand, is ground continuously.)
13
Add the roasted vegetables and the garlic, lemon juice, cumin and chili.
14
Add the olive oil in a thin stream, while the processor runs, until a smooth cream.
Food processor
💡The thin stream is everything: fat that goes in too fast can't bind, and the sauce breaks. For mayonnaise and hollandaise, if this happens, start with a fresh yolk and slowly add the broken sauce to it; if the sauce is too thick, thin it with a teaspoon of water.
15
Season with salt.
16
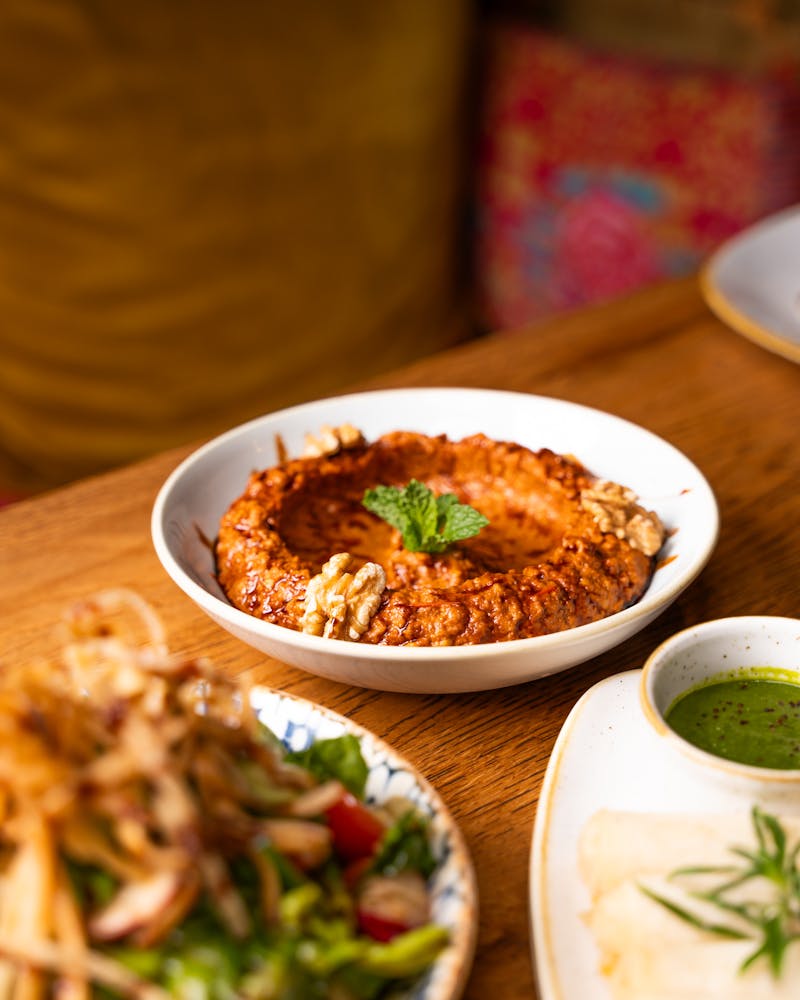
Serve at room temperature with a little olive oil on top and with pita and with pine nuts.
783calories
19 gprotein
95 gcarbs
34 gfat
● protein 10%● carbs 50%● fat 41%
Per serving, servings (calculated for this version)
A button hides that part of the recipe, in print too. Another click brings it back. The choice is kept for this recipe.
Food processor· Also works: Knife (More time and handwork, less even texture) · Electric mini chopper (Small amounts)· 💡 Workaround, changes the dish: Blender (Needs more liquid)
Stove· 💡 Workaround, changes the dish: Portable hot plate (one weaker burner) · Camping gas stove (One burner, outdoors) · Electric pressure cooker (multicooker) (One pot, no real shallow frying)
Bowl· Also works: Pot (None)
Colander· Also works: Lid (a lid held slightly open over the sink, you lose a little) · Slotted spoon (for small amounts)
By the steps, as the recipe is built now: another version or addition can change the list.