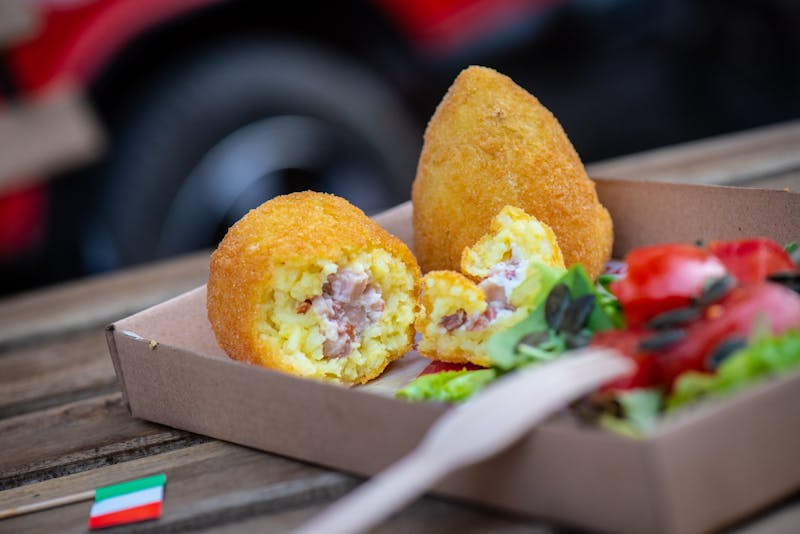
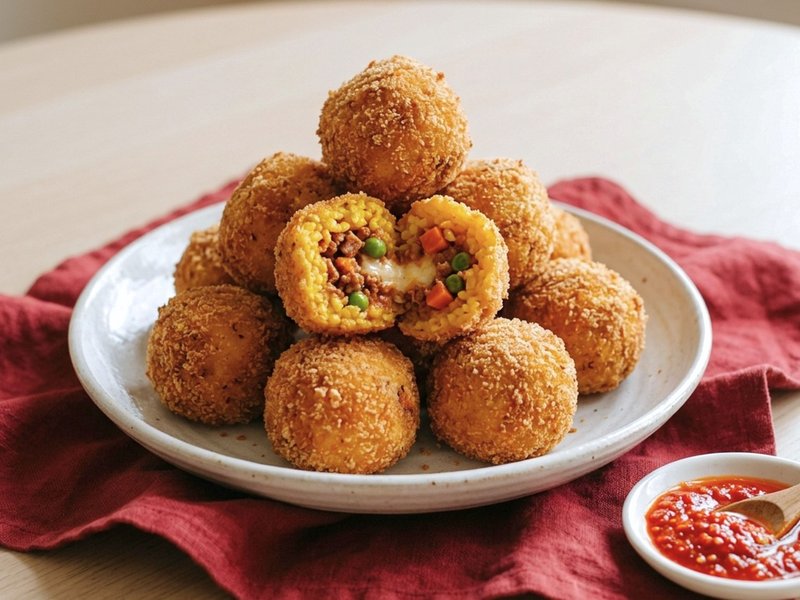
Risotto chilled completely in the fridge, shaped with wet hands into balls around a cube of mozzarella, coated in egg and breadcrumbs (sometimes flour first), and deep-fried in batches until golden.
Heat the stock in a small pot and keep it hot over low heat until the end.
StoveSmall saucepan
💡The stock stays hot in the small pot: cold stock stops the cooking with every ladle, and the rice cooks unevenly.
2
Heat the olive oil in a wide pot over medium heat.
⚙ Pan-fryingStoveWide, shallow pot
3
Add the onion and fry 5–8 minutes, stirring now and then, until the onion is soft and translucent and starts to turn golden at the edges. If it browns too fast, lower the heat.
⚙ Adding to the hot fat and fryingStove
💡Add by cooking time: what needs long (onion, carrot, meat) goes in first, and what burns fast (garlic, dry spices) goes in last, only until fragrant.
4
Add the garlic and fry about 30 seconds to 1 minute, just until fragrant. Don't let the garlic brown.
⚙ Adding to the hot fat and fryingStove
💡Garlic burns quickly and turns bitter. Add it only after the onion has softened, over medium heat, and add the next ingredient as soon as it smells fragrant.
5
Add the rice, without rinsing it, and toast 2 minutes, stirring, until the grains are glossy and coated in fat.
StoveWooden spoon
💡Don't rinse the rice: the starch on the grains is what gives risotto its creamy texture.
6
Add the hot the stock one ladle at a time, stirring constantly until each ladle is absorbed before the next, about 18 minutes, until the rice is creamy and al dente: soft outside with a bite in the center.
StoveLadleWooden spoon
💡Ladle by ladle, stirring: the friction releases starch from the grains that thickens the liquid into a creamy sauce. Taste from minute 16: the grain should be tender with a firm center.
7
Remove from the heat and add the Parmesan and stir vigorously, until the risotto is creamy and glossy.
8
Season with salt and black pepper.
For the Crispy Coating
9
Spread the flour on a flat plate.
💡The flour dries the surface, the egg sticks to it and holds whatever comes next. Without the flour, the coating tends to peel off during frying.
10
Beat the eggs in a wide bowl.
Bowl
💡Work with one "dry" hand for the dry coating and one "wet" hand for the egg, so your fingers don't get caked in layers of coating.
11
Spread the crumbs on another flat plate and season with salt and black pepper.
To assemble
12
Transfer the risotto to a bowl and chill in the fridge 1 hour, until completely cold.
BowlRefrigerator
💡Completely cold risotto firms up and holds its shape; warm risotto smears in your hands, and the ball falls apart in the oil.
13
With wet hands, take tbsp of risotto, place a mozzarella cube in the center, close the rice around it and roll into a ball.
14
Pass each ball through the coating stations in order, until well coated on all sides.
15
Heat the oil' in a deep pot' to 180°C (355°F) and fry the balls in batches for about 3 minutes, until golden. Transfer to paper towels.
⚙ Deep-fryingStoveSlotted spoonCandy/oil thermometerDeep pot for fryingPaper towels
💡Keep the oil at 170–180°C (340–355°F): too cold, and the food soaks up oil; too hot, and it browns outside before the inside cooks. Without a thermometer, dip the tip of a wooden spoon in the oil: when medium bubbles form around it right away, the oil is hot enough.
💡Don't overload the oil: every piece that goes in cools it down. Fry one piece as a test, then the rest in several batches, and transfer to paper towels.
857calories
25 gprotein
92 gcarbs
42 gfat
● protein 12%● carbs 44%● fat 44%
Per serving (485 g), of 4 servings
For the Cooked rice · For the Crispy Coating · To assemble ·
A button hides that part of the recipe, in print too. Another click brings it back. The choice is kept for this recipe.
⚖ About the ingredients
Onion: measured in pieces: one ≈ 117 g · 40 kcal per 100 g · More about Onion →
Garlic: measured in pieces: one ≈ 5 g · 149 kcal per 100 g · More about Garlic →
Olive oil: measured in tbsp in this recipe: 1 tbsp = 14 g · 884 kcal per 100 g · More about Olive oil →
Arborio rice: measured in cup in this recipe: 1 cup = 185 g · 365 kcal per 100 g · More about Arborio rice →
Vegetable stock: measured in cup in this recipe: 1 cup = 240 g · 12 kcal per 100 g · More about Vegetable stock →
Parmesan cheese: measured in cup in this recipe: 1 cup = 100 g · 367 kcal per 100 g · More about Parmesan cheese →
Salt: measured in tsp in this recipe: 1 tsp = 6 g · 0 kcal per 100 g · More about Salt →
Black pepper: measured in tsp in this recipe: 1 tsp = 2.4 g · 251 kcal per 100 g · More about Black pepper →
Flour: measured in cup in this recipe: 1 cup = 120 g · 364 kcal per 100 g · More about Flour →
Eggs: measured in pieces: one ≈ 50 g · 143 kcal per 100 g · More about Eggs →
Breadcrumbs: measured in cup in this recipe: 1 cup = 108 g · 370 kcal per 100 g · More about Breadcrumbs →
Refrigerator· Also works: Freezer (Chills faster; don't let it freeze) · Ice bath (Ice bath)
Stove· 💡 Workaround, changes the dish: Portable hot plate (one weaker burner) · Camping gas stove (One burner, outdoors) · Electric pressure cooker (multicooker) (One pot, no real shallow frying)
Deep pot for frying· Also works: Electric deep fryer (None) · Wok (Less oil, less stable)
Small saucepan· Also works: Pot (None) · Frying pan (A deep pan for sauces)
Wide, shallow pot· Also works: Deep skillet (sauté pan) (None)· 💡 Workaround, changes the dish: Pot (Layers instead of a single layer)
Bowl· Also works: Pot (None)
Ladle· Also works: Measuring cup (Cup) · Spoon / teaspoon (regular) (Slow)
Slotted spoon· Also works: Spider strainer (None) · Tongs (For large pieces)
Wooden spoon· Also works: Silicone spatula (None) · Spoon / teaspoon (regular) (a regular spoon gets hot)
🧻 Consumables: Paper towels
Helps, not needed: Candy/oil thermometer
By the steps, as the recipe is built now: another version or addition can change the list.
Possible additions: Serving (with tomato sauce) · Ready-cooked rice, mixed with eggs and cheese · Parmesan in the mixture · Eggs in the mixture · Nutmeg · Salt and black pepper in the mixture · Tomato paste in the filling